アイキャッチ画像が設定できるように「functions.php」の中に記述します。また、独自のサイズでの表示方法も説明します。
 // エディタのサイドエリアにアイキャッチ画像を設定
  add_theme_support( 'post-thumbnails' );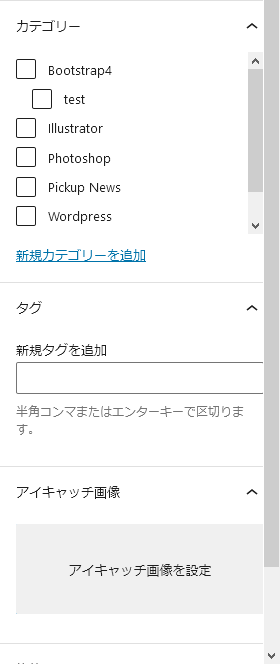
アイキャッチ画像を設定画面が表示されました。
独自のサイズでの表示方法
function init_func() {
 // アイキャッチ画像を設定する
  add_theme_support( 'post-thumbnails' );
 // 独自のサイズ設定(l-sizeは表示用ID)
	add_image_size( 'l-size', 640, 360, true );
}
add_action('init', 'init_func');
ダッシュボードの設定→メディアを選択し、下記の数値に変更してください。

これで「640×360」の比率で表示されます。
表示させたいファイルに「index.phpなど」に記述する
次に、アイキャッチ画像を表示するコードを記述します。
<div class="row">

<?php if(have_posts()): while (have_posts()):the_post(); ?>
<div class="col-sm-12 col-md-4 mb-30">
<ul class="blockB-inner h-100">
<li class="blockB-box">
// アイキャッチ画像を表示させる
<p class="blockB-img01"><a href="<?php the_permalink(); ?>"><?php the_post_thumbnail( 'l-size', array('class' => 'img-fluid') ); ?></a></p>

<?php
$categories = get_the_category();
if ( $categories ) {
	echo '<span class="'.$categories[0]->slug.'">' .$categories[0]->name.'</span>';
}
?>

<p class="blockB-ttl01"><a href="<?php the_permalink(); ?>"><?php the_title( ); ?></a></p>
<p class="blockB-text01"><?php the_excerpt(); ?></p>
<p class="blockB-time"><?php the_time('Y.m.d'); ?></p>
</li>
</ul>
</div>
<?php endwhile; endif; ?>

</div>
PHP内にclassを指定するやり方
<?php the_post_thumbnail( 'l-size', array('class' => 'img-fluid') ); ?>ここではBootstrapの画像レスポンシブのclass=「img-fluid」を付けています。